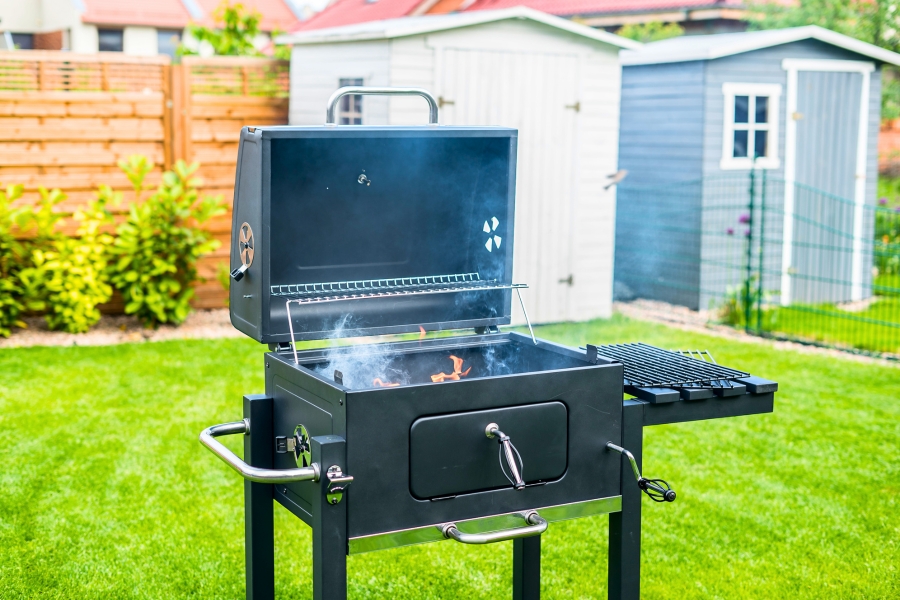
How to Clean a BBQ the Right Way Before Your Next Backyard Party
You've sent out the invites, marinated the meat, and planned the menu. But when you lift that grill lid, you're hit with a wall of old grease, charred debris, and rust. Sound familiar?
A dirty BBQ isn't just an eyesore. It actively ruins your food, creates safety risks, and tells your guests something you probably don't want them to know about how you handle food.
Before your next backyard party, here's exactly how to clean your BBQ the right way, step by step.
Why a Pre-Party Deep Clean Is Non-Negotiable
Most people skip the deep clean and just give the grates a quick brush. That's a mistake, and here's why.
It affects the flavor of your food. Old burnt residue coats your grates and transfers directly onto whatever you're cooking.
That bitter, off-taste in your burgers? That's last month's cookout. Built-up grease also blocks the high heat your grill needs to properly sear meat, meaning you lose that crust everyone loves.
It's a safety risk. Grease build-up is the number one cause of grill flare-ups. A sudden flare-up can burn food, singe your arm, or in worse cases, cause a dangerous fire.
On top of that, old wire bristles from cheap brushes can break off and stick to your grates, and end up in someone's food. That's a real hazard that sends people to the hospital every year.
It says something about you as a host. A clean, well-maintained grill signals that you take food quality seriously. Guests notice. And if they see charred black build-up and orange rust when you open the lid, they're going to wonder about everything else coming off that grill.
The Burn-Off (Do This Before You Scrub Anything)
Before you touch a brush or sponge, fire up your grill and let it run on high heat for 15 to 30 minutes with the lid closed.
This is called a burn-off, and it does something important; it turns stuck-on food and grease into ash, which is far easier to scrape away than sticky, wet residue.
This step alone cuts your scrubbing time in half. Don't skip it.
Tools you'll need before you start:
A metal scraper or plastic putty knife (plastic for coated or porcelain grates, metal for cast iron or stainless)
A bristle-free grill brush — options like the BBQ Daddy use steam to lift grease without leaving dangerous wire fragments behind
Dawn dish soap or a degreaser like Simple Green
White vinegar and baking soda (for rust)
A large plastic storage bin or tub for soaking
A shop vacuum
Microfiber cloths and rubber gloves
Avocado oil for re-seasoning

Phase 1: Clean the Internal Components (The "Guts")
Start from the inside out.
Remove your grates, flavorizer bars or heat shields, and warming racks. Set them aside in a large plastic tub filled with warm water and a generous squirt of Dawn or a cap of Simple Green degreaser.
Let them soak while you work on everything else. The longer they soak, the less scrubbing you'll do later.
Now look inside the firebox (the main body of the grill). Use a plastic putty knife to scrape the interior walls and the inside of the lid. You'll likely see black flaking material falling off, this is not paint. It's carbon build-up, and it's harmless, but it needs to come out. Knock it loose and let it fall to the bottom.
Once you've scraped the interior, use a shop vacuum to suck up all the loose ash, carbon flakes, and charred debris from the bottom of the grill bowl. Don't try to wipe this out with a cloth, you'll just push the mess around. A shop vac makes this clean and fast.
Phase 2: The Grates and the Grease Tray
By now, your grates have been soaking. Pull them out and scrub them down with your bristle-free brush.
If your grill is still warm (around 300°F), even better, wet the brush and use the steam it creates to lift grease on contact. Steam cleaning is one of the most effective methods for cutting through baked-on grease without chemicals.
For the grease tray or drip pan, hold it over a trash can and scrape out the solidified grease first.
A useful hack: line the tray with a plastic bag or a layer of paper towels before you put it back in the grill. Next time, cleaning it would take 30 seconds instead of 30 minutes.
If you have a gas grill, check your burner ports. If you've been seeing an orange flame instead of blue, that means the ports are clogged with soot. Take a straightened paperclip and gently clear each port hole. Don't use a toothpick — it can snap off inside and make the problem worse.
Phase 3: Rust
Rust on grill grates is common, especially if your grill has been sitting outside uncovered.
Here's a simple method that works without damaging the metal.
Mix equal parts white vinegar and water in a spray bottle. Spray it directly onto the rusted areas and let it sit for 20 to 30 minutes. The acid in the vinegar breaks down the rust. Then, and this step is important, rinse the grates with a baking soda solution (about 1.5 tablespoons of baking soda per 12 ounces of water).
This neutralizes the acid and stops it from continuing to eat into the metal. Skip this step and you risk pitting your grates.
For the exterior of the grill, wipe everything down with warm soapy water.
If you have stainless steel surfaces with small rust spots, Barkeeper's Friend works well. Apply it with a damp cloth, rub in the direction of the grain, and rinse thoroughly. Finish with a microfiber cloth to buff the surface dry and prevent water spots before guests arrive.
Phase 4: Re-Season the Grates
Once your grates are clean, they need to be re-seasoned. This creates a non-stick surface and protects the metal from rust coming back.
First, make sure the grates are completely dry. Use a clean towel to wipe them down, or if you want to be thorough, use a leaf blower to remove moisture from any crevices. Even a small amount of remaining moisture can cause flash rust almost immediately.
Next, heat your grill to between 200 and 250°F. Apply a light, even coat of avocado oil to the grates using a folded paper towel or a cloth. Avocado oil is the right choice here because it has one of the highest smoke points of any cooking oil, meaning it will bond to the metal properly without burning off too quickly.
Close the lid and let the oil bake onto the grates for 15 to 20 minutes. When you're done, your grates should have a slightly darkened, slick appearance. That's your seasoned barrier — it protects the metal and makes your food less likely to stick at the next cookout.

Post-Party Maintenance
Now that you've done the hard work, don't let it go to waste. You have the responsibility of keeping it clean between parties.
Clean the grates while the grill is still hot after every use. A quick scrub when the grill is warm takes 60 seconds and prevents the kind of build-up that takes an hour to remove later.
Make it a habit — grill, eat, scrub, done.
Invest in a quality grill cover. This is the single best thing you can do for your grill between parties.
A cover keeps out rain, humidity, bird droppings, and debris, all the things that accelerate rust and corrosion. It's a $30 to $60 investment that extends the life of a grill worth hundreds.
Too Busy to Do It Yourself? Let Sparkpro Cleaning Services handle it for you.
Between marinating meat, prepping sides like Greek pasta salad, cleaning the house before guests arrive, and managing a hundred other hosting tasks, scrubbing a grease-caked grill is often the last thing you want to add to your list.
If your grill hasn't had a proper deep clean in years, or you just want that brand-new shine without the stress of doing it yourself.. calling in the pros is the smarter move.
Sparkpro specializes in deep-cleaning BBQs from the inside out: clearing clogged burner ports, breaking down heavy grease build-up, removing rust, and restoring your grates so your grill performs the way it's supposed to.
Don't stress over the grease - contact Sparkpro Cleaning Service before your next backyard party and show up to your own event ready to cook, not scrub.
